Week 2: Learning to throw
On applying pressure in the right places.
This week I enrolled on a pottery throwing intensive course: 4 x 5 hours of learning to centre, throw & trim pottery.
I've always wanted to learn how to throw pottery on a wheel, and I was particularly excited to be able to work with my hands, away from a screen and without access to an 'undo' button. And, to escape my head by busying my hands.
Through the medium of clay, this week was a lesson in pressure, and knowing when to let go.
Where to apply pressure
If I’ve learnt anything about myself, it’s that I’m a maximiser — I find something that I’m both good and passionate about, and pursue it relentlessly. While I love learning, I struggle with being “bad” at something.
The positives of this are that I can be highly driven; the negatives can be that I set high standards and put myself under a lot of pressure.
As a result, this week was an exercise in enjoying the journey, and avoiding the drift into putting pressure on myself to be good at something new.
It wasn’t easy to sustain this mindset, as my hands will demonstrate.
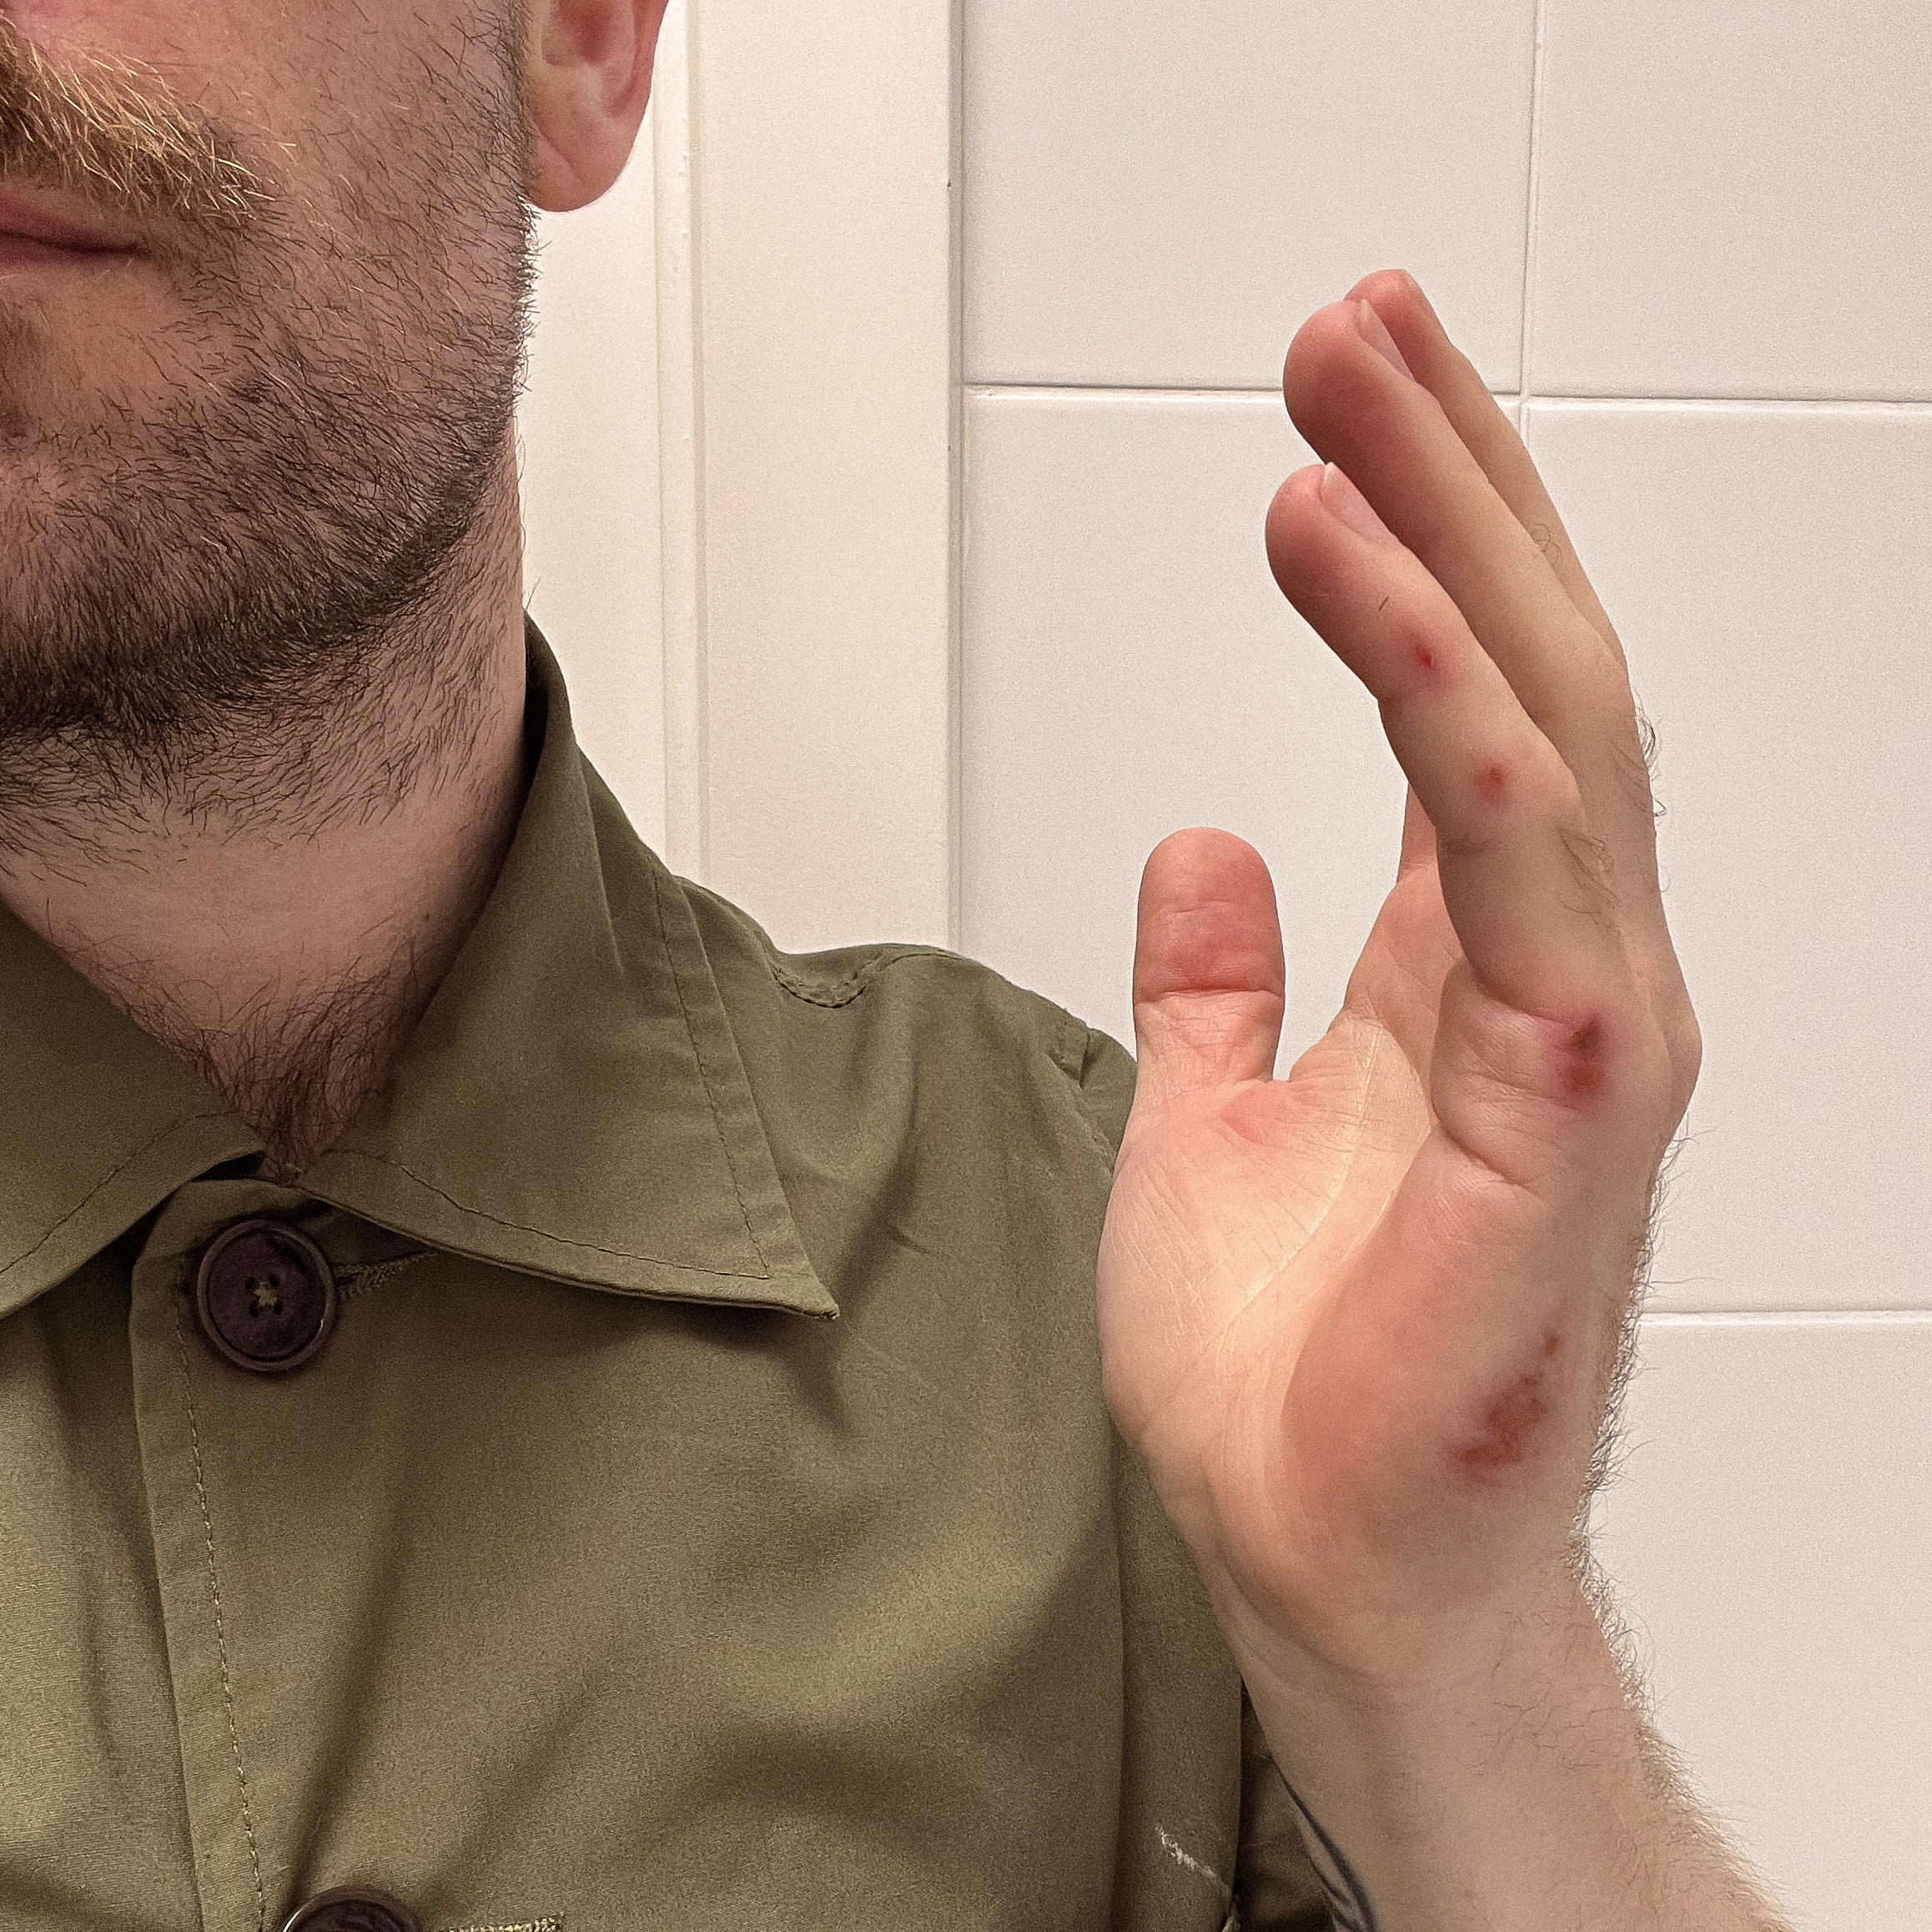
As my tutor informed me — these wounds highlight the pressure points of where I was making contact between my hands and the wheel. Through frustration building and persevering through it, I had start to lose form and began to rely too much on strength to wrestle the clay into shape. This was a losing battle and my hands paid the toll.
From this learning, I took the pressure off myself (and my hands) and changed tack.
Less thinking, more feeling
"If you don't centre yourself, you cannot centre clay"
Giedre Kaziunas
A few deep breaths, a relaxing of the shoulders, an awareness of your posture, an engagement of your core. Close your eyes, sense where the middle of the wheel is, and guide the clay in the direction you want it to go.
Be patient. Take pauses. Oh — and remember to slow down the wheel, you don't have to go at 100% all of the time.

Starting with strong foundations
After day one, we had all made several pots we could trim up on day two, and spirits were high.
Only, it turns out that many of our pots hadn't been fully centred when we were throwing them — and as a result our pots were almost always off-centre, which made trimming them equally challenging (or impossible).
A hard lesson was learned: centring is a crucial step. There are no shortcuts — if you lay poor foundations, every subsequent step will be a struggle.
Continuous improvement
Having broken down the process into clearly defined steps of throwing and trimming, we had been able to keep our focus on each distinct step without being overwhelmed. And having then gone through the two steps together, we realised the interplay between them — not only in ensuring the pot has been fully centred, but also how what you have thrown influences how you can trim your pot.
Now, on day 3, we understood the importance of getting things right in the throwing process and could start (in our limited beginner capacities) to apply some intentionality to what we are throwing, and how we want it to look after it was trimmed.

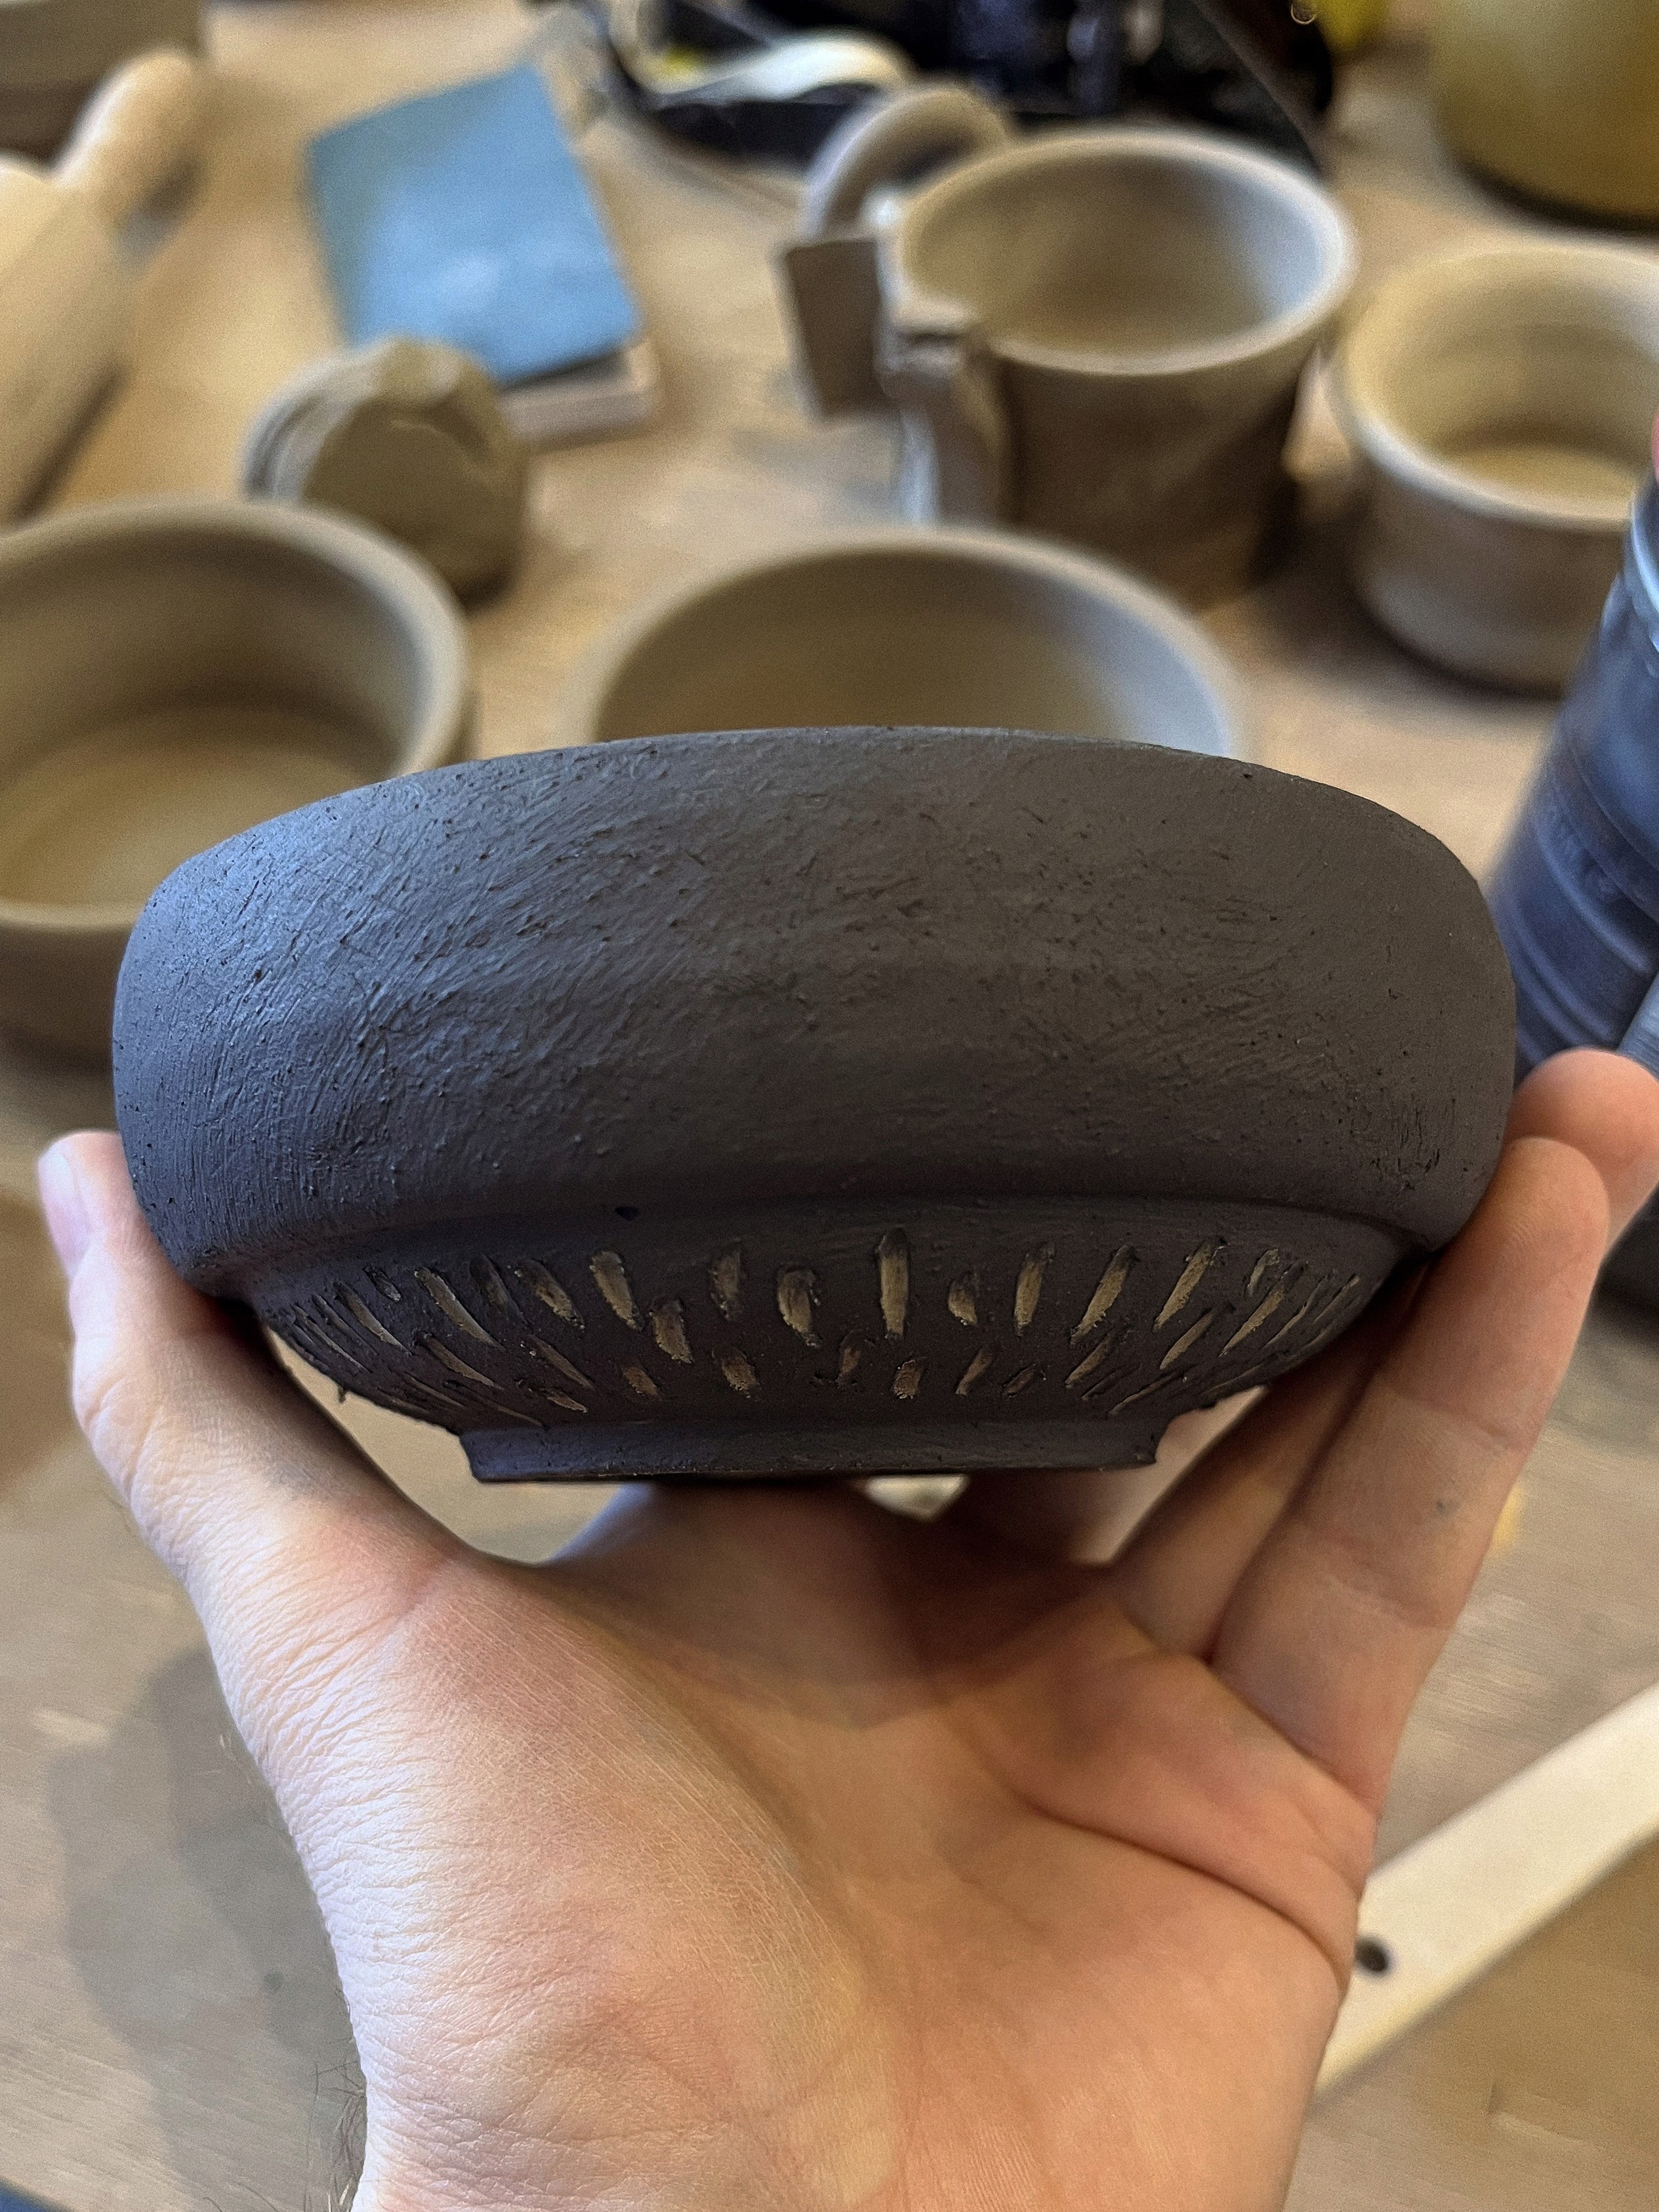
Check back in future updates, where I will share more on the glazing process and the subsequent final outcome.